com/wp-content/uploads/2024/08/localimages/06Gpv4sWGekrLea4IOVZAef-4.png” data-lazy-sized alt=”steam deck launcher selection” data-image-path=”articles/06Gpv4sWGekrLea4IOVZAef-4.png”>
(Credit: PCMag / Valve)
Step 5: Launch Your Games
You should now see the third-party launchers you selected on the Steam Deck’s launch menu. Click on one to open it and start playing your favorite games from other platforms!
Conclusion
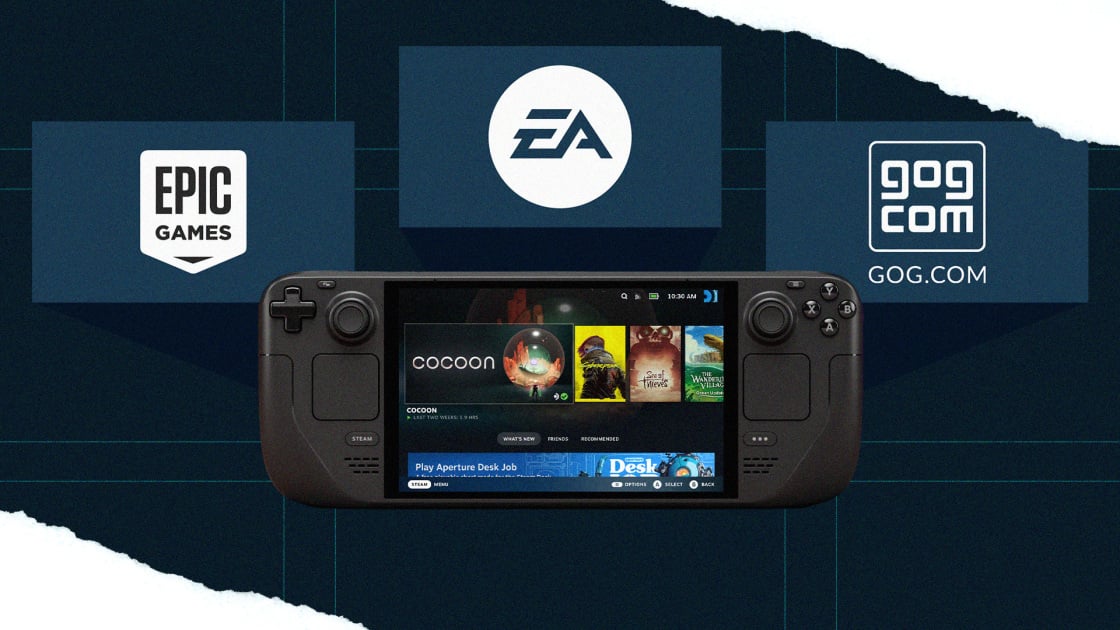
The NonSteamLaunchers installer is a convenient tool for adding third-party game launchers to your Steam Deck, allowing you to access a wider range of games beyond what’s available on Steam. With just a few simple steps, you can enjoy titles from Epic Games, Ubisoft Connect, GOG Galaxy, EA, and more right on your handheld device. So don’t limit yourself to just one platform—expand your gaming library with this easy installation process!
rnrn
We hope this guide has been helpful in showing you how to install third-party game launchers on your Steam Deck. Now go ahead and enjoy all the games you love, no matter where they’re from!
rnThird-party game launchers can enhance your gaming experience on the Steam Deck by allowing you to access games from different platforms. Installing these launchers is a straightforward process that can be done in a few simple steps.
Step 1: Download the Installer
Start by downloading the installer for the third-party game launcher you want to install on your Steam Deck. Make sure to choose a reputable source to avoid any potential security risks.
Step 2: Run the Installer
Once the installer is downloaded, run it on your Steam Deck. Follow the on-screen instructions to complete the installation process.
Step 3: Select Launchers
During the installation process, you will have the option to select which game launchers you want to install. Choose your preferred launchers and proceed with the installation.
Step 4: Customize Settings (Optional)
Some installers may offer customization options such as creating web shortcuts for specific websites. You can choose to customize these settings according to your preferences or skip this step if not needed.
Step 5: Create Web Shortcuts (Optional)
If desired, you can create custom shortcuts for specific websites using the Shortcut Creator window provided by the installer. This step is optional, so feel free to skip it if you prefer not to create website shortcuts.
Step 6: Install Your Launchers
The installer will automatically detect and install the latest Proton GE version before installing your chosen game launchers into a designated folder on your Steam Deck. Once completed, restart your device and find the new launchers on your desktop.
Step 7: View Game Launchers in Game Mode
Access Game Mode on your Steam Deck and locate your newly installed game launchers. If they do not appear automatically, you can manually add them by right-clicking on each file and selecting “Add to Steam.”
Step 8: Add Game Launcher Art
To enhance visual appeal, consider installing a plugin like SteamGridDB Decky that automatically adds artwork for each launcher, preventing them from appearing as gray boxes.
Step 9: Enable Compatibility Tools
Ensure compatibility between third-party game launchers and your Steam Deck by enabling compatibility tools through each launcher’s Properties menu. Tick “Force use of” options as needed for seamless integration with Steam Play features.Installing third-party game launchers on your Steam Deck can enhance your gaming experience by allowing you to access a wider range of games. To install third-party game launchers on your Steam Deck, follow these steps:
1. Download the specific Steam Play compatibility tool for the launcher you want to install.
2. Open the downloaded file and follow the installation instructions provided.
3. Once the installation is complete, navigate to your Steam Deck’s desktop mode.
4. Locate the NonSteamLaunchers.desktop file and run it.
5. Select the launcher you want to install from the list of available options.
6. Follow any additional prompts or instructions to complete the installation process.
7. Repeat steps 4-6 for any additional third-party game launchers you want to install on your Steam Deck.
8. After installing all desired launchers, set up controller layout by customizing it in Controller Settings and clicking View Layout.
9. Ensure that the controller layout is optimized for navigating without a mouse and keyboard connected.
10. Log into each installed launcher with your account information to access your games library.
11. Keep in mind that some launchers may require periodic re-login due to inactivity or switching between games frequently.
12. If you wish to uninstall any installed launchers, run the NonSteamLaunchers.desktop file again and click Uninstall or Start Fresh for a clean setup.
13.If you encounter issues with installing via installer method, consider manually downloading each game launcher as an alternative method.
By following these steps, you can easily install third-party game launchers on your Steam Deck and enjoy a wider selection of games on this portable gaming device.To install third-party game launchers on your Steam Deck, you have a couple of options. The easiest method is to use the NonSteamLaunchers installer, which simplifies the process and makes it user-friendly. This tool allows you to easily add non-Steam games to your Steam library without much hassle.
Alternatively, if you prefer more control over the installation process, you can opt for installing ProtonUP-QT individually. This method involves manually fiddling with hidden files and target locations, which can be more complicated and time-consuming. While this approach gives you greater customization options, it may not be as straightforward as using the NonSteamLaunchers installer.
we recommend using the NonSteamLaunchers installer for most users due to its simplicity and ease of use. However, if you are comfortable with tinkering with system files and configurations, installing ProtonUP-QT individually may be a viable option for you.
Whichever method you choose, adding third-party game launchers to your Steam Deck opens up a world of possibilities in terms of gaming options. Whether it’s accessing games from other platforms or running older titles that aren’t natively supported on Steam Deck, these tools allow you to expand your gaming library and enjoy a wider range of experiences on your device.
The Steam Deck is a highly anticipated handheld gaming device that allows players to access their Steam library on the go. While the device comes pre-loaded with the official Steam launcher, some users may want to install third-party game launchers to have access to games from other platforms.
To install third-party game launchers on the Steam Deck, users will need to navigate to the system settings and enable the option to install software from unknown sources. This can be done by going to the Settings menu, selecting System, and then enabling the option to allow third-party sources.
Once this option is enabled, users can then download the desired third-party game launcher APK file from a trusted source and install it on the Steam Deck. This can be done by navigating to the file location on the device and selecting the APK file to initiate the installation process.
After the installation is complete, users can access the third-party game launcher from the Steam Deck’s main menu and begin downloading and playing games from other platforms. It is important to note that not all third-party game launchers may be compatible with the Steam Deck, so users should research compatibility issues before installing.
installing third-party game launchers on the Steam Deck allows for a wider range of gaming options and expands the device’s capabilities beyond just the Steam library. With a few simple steps, users can enhance their gaming experience on the Steam Deck with their favorite games from other platforms.