right corner, then tap on the photos you want to delete. Once selected, tap the trash can icon in the bottom right corner to delete them.
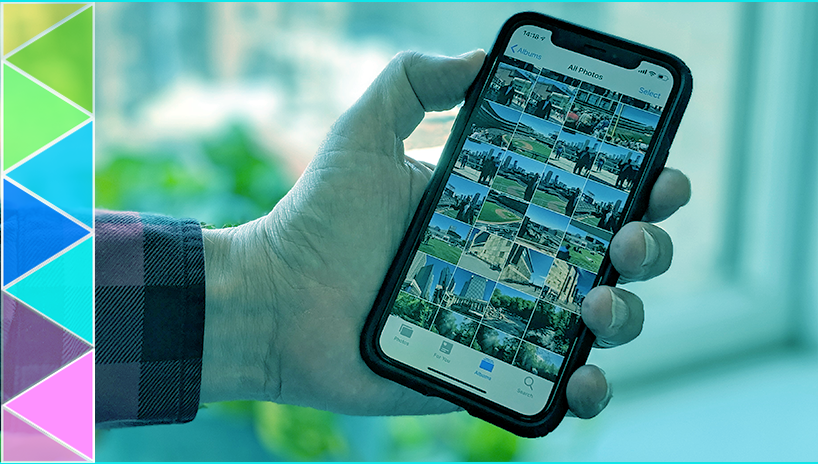
How to Organize Your Photos
Once you have successfully backed up your photos from your iPhone or iPad, it’s time to organize them. Here are some tips for keeping your digital photo collection neat and tidy:
- Create folders or albums based on events, dates, or themes. This will make it easier for you to find specific photos later on.
- Add tags or keywords to your photos so that you can easily search for them by content (e.g., “beach,” “birthday,” “family”).
- Delete any duplicate or blurry photos to free up space and keep your collection streamlined.
- Rename files with descriptive titles so that you know what each photo is without having to open it. Photos and toggle on iCloud Photos. This will upload all of your photos and videos to iCloud so you can access them from any device with your Apple ID.
Another option is to delete unwanted photos directly from your iPhone or iPad. Simply open the Photos app, select the images you want to delete, then tap the trash can icon in the bottom right corner. You can then go to Albums > Recently Deleted and choose Delete All to permanently remove these images.
If you prefer a hands-on approach, you can download your photos to a computer first before backing them up. Connect your device to your computer using a Lightning-to-USB cable and import the images into an image-editing program like Photos (for Mac users) or Adobe Lightroom. Once imported, you can easily see and edit the images before transferring them to a backup service like Box or Flickr.
When organizing your photos, consider whether you want to use a general cloud storage service or a photo-specific hosting site. General cloud storage services offer more flexibility but may not have as many features tailored specifically for organizing photos. Photo-specific hosting sites may offer better organization tools but could be limited in terms of overall storage capacity.
By following these steps and considering these tips for organizing photos, you can ensure that all of your precious memories are safely backed up and easily accessible whenever you need them.duplicates due to the new file names. To avoid this issue, it’s important to regularly go through your photos and delete any duplicates you find. There are many tools available that can help you identify and remove duplicate photos quickly and easily.
Another tip for organizing your photos is to create a backup system. It’s essential to have a reliable backup of all your images in case something happens to your device. You can use cloud storage services like iCloud, Google Photos, or Dropbox to automatically back up your photos as you take them. Additionally, you can manually back up your photos by transferring them to an external hard drive or USB drive.
organizing and backing up your photos is crucial for keeping them safe and easily accessible. Whether you prefer using photo hosting services with advanced organization features or a more general cloud storage solution, finding a system that works for you will help ensure that your precious memories are always protected.
Backing up and organizing photos from your iPhone or iPad is essential to ensure you don’t lose precious memories. With the ever-increasing quality of smartphone cameras, we tend to accumulate a large number of photos over time. Here are some tips on how to effectively back up and organize your photos:
1. Use iCloud: One of the easiest ways to back up your photos is by using iCloud. Simply go to Settings on your device, tap on your name, then iCloud, and turn on iCloud Photos. This will automatically upload all your photos and videos to the cloud.
2. Transfer to a computer: Another option is to transfer your photos to a computer using a USB cable. You can then store them in folders on your computer or an external hard drive for safekeeping.
3. Organize into albums: Once you have backed up your photos, it’s important to organize them into albums for easy access. You can create albums based on events, dates, or people featured in the photos.
4. Delete duplicates: Over time, you may end up with duplicate photos on your device, taking up unnecessary storage space. To remove duplicates, you can use deduping tools available online or software like ACDSee Pro or Lightroom that have built-in features for this purpose.
5. Regularly clean out old photos: It’s a good idea to regularly go through your photo library and delete any unwanted or blurry images. This will help keep your photo collection organized and clutter-free.
By following these tips, you can ensure that all your precious memories are safely backed up and easily accessible whenever you need them. Don’t let those special moments get lost in the digital clutter – take the time to organize and protect them today!
Backing up and organizing photos from your iPhone or iPad is crucial to ensure that your precious memories are safely preserved. There are several methods you can use to accomplish this task.One popular option is to use iCloud, Apple’s cloud storage service. By enabling iCloud Photo Library, your photos will automatically be uploaded and stored in the cloud. This allows you to access your photos from any device and ensures that they are safe even if your phone is lost or damaged.
Another option is to use Google Photos, a free service that offers unlimited storage for photos and videos. Google Photos automatically backs up your photos and enables you to search for specific images using keywords.
If you prefer to have physical copies of your photos, you can also transfer them to your computer using a USB cable. Once transferred, you can organize them into folders and create backups on an external hard drive or other storage devices.
It’s important to regularly back up your photos to ensure that you don’t lose any valuable memories in case of device failure or accidental deletion. By following these simple steps, you can ensure that your photos are safely stored and easily accessible whenever you need them.